StoryMaps.js
StoryMaps.js are like a combination of powerpoint and travelogue. Not to be confused with ARCGis Storymaps.
Telling Stories with StoryMaps
The historical stories we want to tell take place within and across space. The Storymapjs platform from the Knight Lab at Northwestern University was developed to make this easier to accomplish. Below is an example the Knight Lab put together concerning Arya Stark’s journeys. Note how each point in the map can be annotated with videos, images, or other kinds of rich content. Each point on the map is annotated with text and media; the ‘next arrow’ moves us to the next point, implying a historical or temporal connection. Embedding this map into a text file required a single line of html,
<iframe src="https://storymap.knightlab.com/examples/aryas-journey/" width = 100% height = "400"></iframe>
Making a storymap requires using a Google account to log in. It uses the metaphor of ‘slides’ to describe each point on your map, and the interface itself is rather similar to what you might be familiar with for Powerpoint or Keynote.
Knightlab makes the following suggestions:
- Keep it short. We recommend not having more than 20 slides for a reader to click through.
- Pick stories that have a strong location narrative. It does not work well for stories that need to jump around in the map.
- Write each event as a part of a larger narrative.
- Include events that build up to major occurrences — not just the major events.
- Login into Storymap
- The editor will look roughly like this
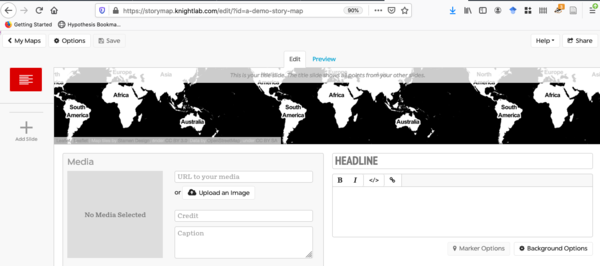
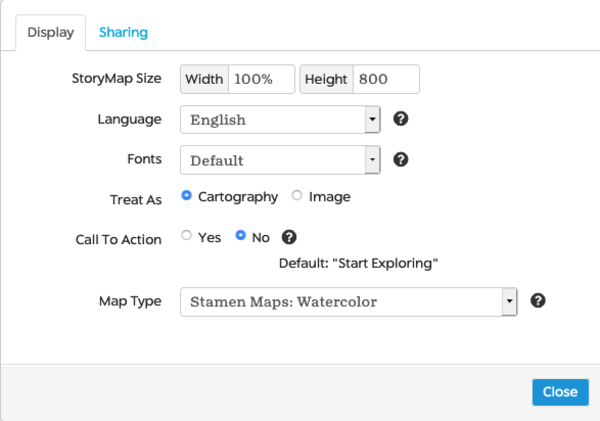
- Set your base map by clicking on options; there is a list of common base maps under ‘options - Map Type’
- Add some basic info to your home slide (it’ll be the red one, at the left, and you don’t have any other slides yet). Each subsequent slide uses the same interface.
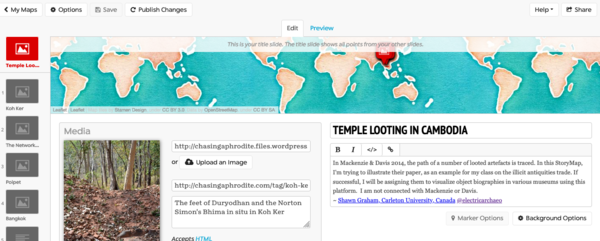
- Once you’ve got some slides - 5 would be fine - save the map, and then hit the ‘share’ button at right.
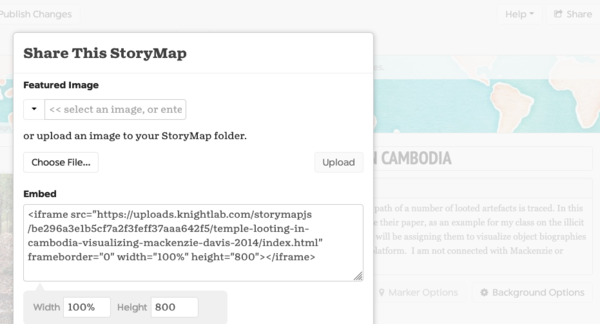
This will give you a link to share with folks; or if you scroll a bit further down, some html code which you can save in your notes.md or in a blog post or some other online document.
If you make changes subsequent to sharing, a new button appears beside ‘save’ called ‘publish changes’.